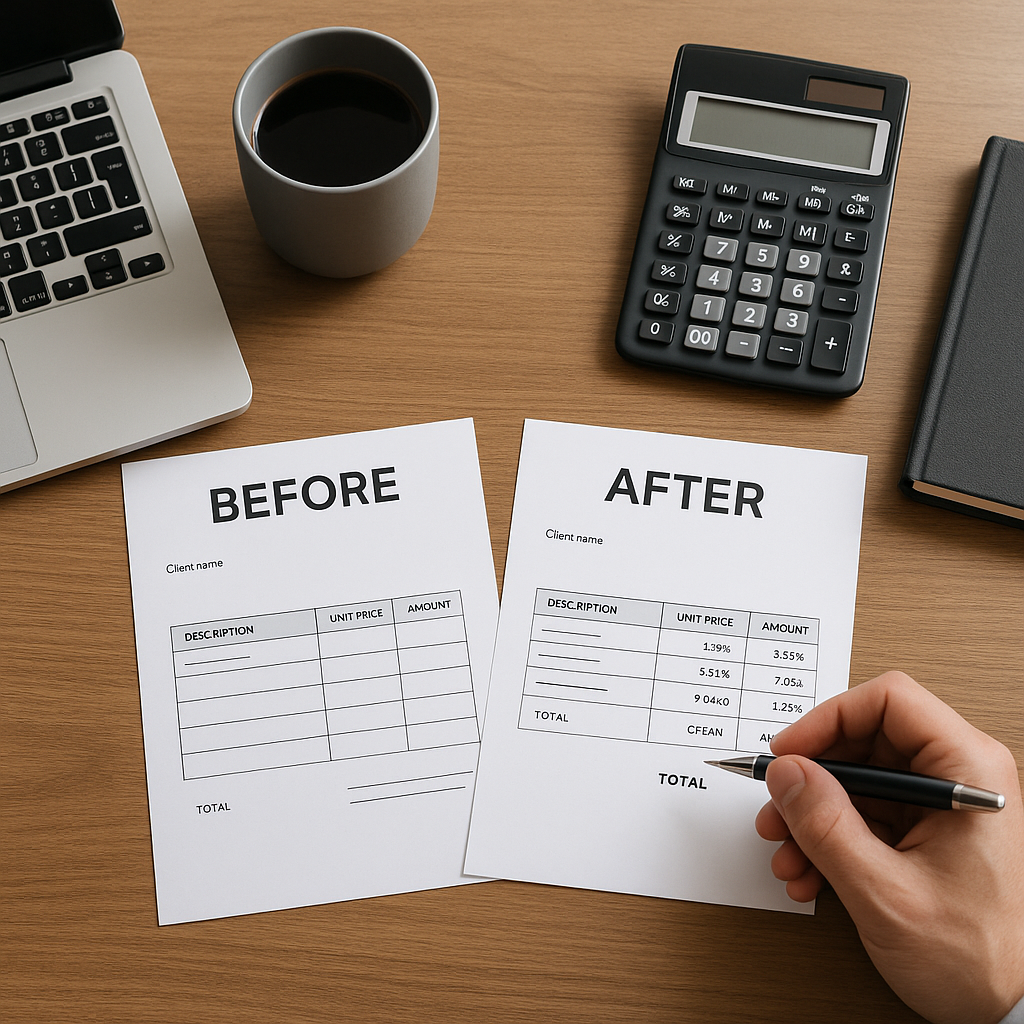
For plumbing and heating contractors, clear paperwork helps you get paid faster and avoid unnecessary disputes. One simple way to strengthen your billing process is to use before and after photo invoices. When handled properly, photos show the condition of a job before work starts and the result once the work is complete.
In June, when many UK trade businesses are juggling outdoor projects, maintenance work and holiday cover, anything that saves time while improving clarity is worth tightening up. A professional photo-based invoice can support cashflow, reduce back-and-forth with customers and give your business a more organised image.
Why before and after photo invoices work
A standard invoice shows the numbers. A photo invoice adds visual proof. For trade businesses, that can be useful when work involves replacements, remedial jobs, upgrades or visible improvements.
Photos can help you:
- show the condition of materials or fixtures before work began
- confirm that agreed work was completed
- reduce questions about labour, parts and scope
- support your records if a customer queries the bill later
- build trust through better transparency
This matters even more when margins are under pressure. If you are already working hard to control labour, supplier pricing and material costs, your invoicing should also help protect profit rather than create delays.
What to include in a professional photo invoice
A professional before and after photo invoice should still follow normal invoicing best practice. The photos support the bill, they do not replace the key financial details.
Include:
- your business name, contact details and invoice number
- the customer name, site address and invoice date
- a clear description of the work completed
- itemised labour and materials
- payment terms and due date
- before and after images with short captions
- any relevant notes on approved variations or extra works
Keep photo captions short and useful
Each image should have a practical label, such as:
- kitchen sink pipework before repair
- replacement valve fitted after leak repair
- plant room controls before upgrade
- completed cylinder installation after works
This makes the document easier to review and more professional for commercial clients, landlords and facilities contacts.
Use images that support the invoice value
Do not overload the invoice with too many pictures. Choose two to six strong images that clearly relate to the billed work. The best examples usually show:
- visible damage, wear or failure before work
- the completed installation, repair or replacement after work
- specific materials or components supplied
If the work is not highly visual, keep the invoice standard and attach photos separately as supporting evidence.
Best practice for taking invoice-ready job photos
The quality of your photos affects how credible the invoice looks. You do not need expensive equipment, but you do need consistency.
Take photos in the same position
Where possible, photograph the same area from a similar angle before and after the job. This makes the comparison obvious and avoids confusion.
Make sure the images are clear
Use good lighting, avoid clutter and keep the key subject in frame. Blurry or distant photos weaken the impact.
Name files properly
Use a simple naming format such as:
- customer name
- job date
- before or after
- area of work
For example, "Smith_12June2026_before_boilercupboard". This makes storage and retrieval much easier, especially during busy summer periods when multiple teams are on the move.
How photo invoices help with business control
Before and after photo invoices are not only about customer presentation. They also improve internal control. They create a stronger link between what was quoted, what was installed and what was billed.
For growing trade firms, that matters. A better paper trail helps office staff, managers and accounts teams review jobs more quickly. It can also support supplier and purchasing checks if the materials shown on site need to match what was ordered.
That is where better systems make a difference. Assured Bills focuses on helping UK plumbing and heating professionals avoid overpaying for supplies, improve price transparency and tighten cost control. When your invoice records are clearer, it becomes easier to compare job costs against what was actually purchased.
If you are also reviewing how you manage supplier spend, take a look at Assured Bills for heating and plumbing materials to see how smarter oversight can protect margin.
Common mistakes to avoid
A before and after photo invoice can be useful, but only if it is done properly. Avoid these common issues:
- adding low-quality or irrelevant images
- sending photos without itemised billing details
- including too many images and making the invoice hard to read
- failing to label photos clearly
- using inconsistent file storage across jobs
- forgetting customer permissions where required for site photography
The goal is simple. Give the customer enough visual evidence to support the work completed, while keeping the invoice clean and professional.
A simple process your team can follow
To make this repeatable across your business, create a standard process:
- Take clear before photos when arriving on site.
- Complete the work and photograph the final result.
- Save images using a standard file name.
- Add the best images to the invoice or attach them as a supporting page.
- Include short captions linked to the billed work.
- Store the full job record in one place for easy reference.
If you are putting better systems in place this summer, now is a good time to standardise both billing and procurement workflows. You can also sign up for Assured Bills if you want more control over material pricing and invoice accuracy, or use the Assured Bills login page if you are already managing your account.
Final thought
Professional before and after photo invoices help trade businesses look sharper, justify charges more clearly and reduce unnecessary payment friction. For plumbing and heating contractors across the UK, they are a practical upgrade that supports both customer trust and internal efficiency.
If you want stronger control over the cost side of every job as well, Assured Bills can help you reduce overpayment on heating and plumbing materials and improve visibility across your buying process.